Showing posts with label easter decoration. Show all posts

Sunday, March 24, 2013

Almost easter...

Since it's Easter next week, I decided to try out my new bundt cake tin :).
Aangezien het bijna pasen is, besloot ik dat het tijd werd om mijn nieuwe tulband vorm uit te proberen :).
 

There was batter left, so I made some more ;). 
En omdat er beslag over was:


I think it went very well, so I'm definitely making one next week and I also hope to make some cupcakes as well.
Ik vind ze goed gelukt en zeker de eerste ga ik volgende week opnieuw maken. Daarnaast wil ik wat cupcakes maken, maar die zie je volgende week ;).

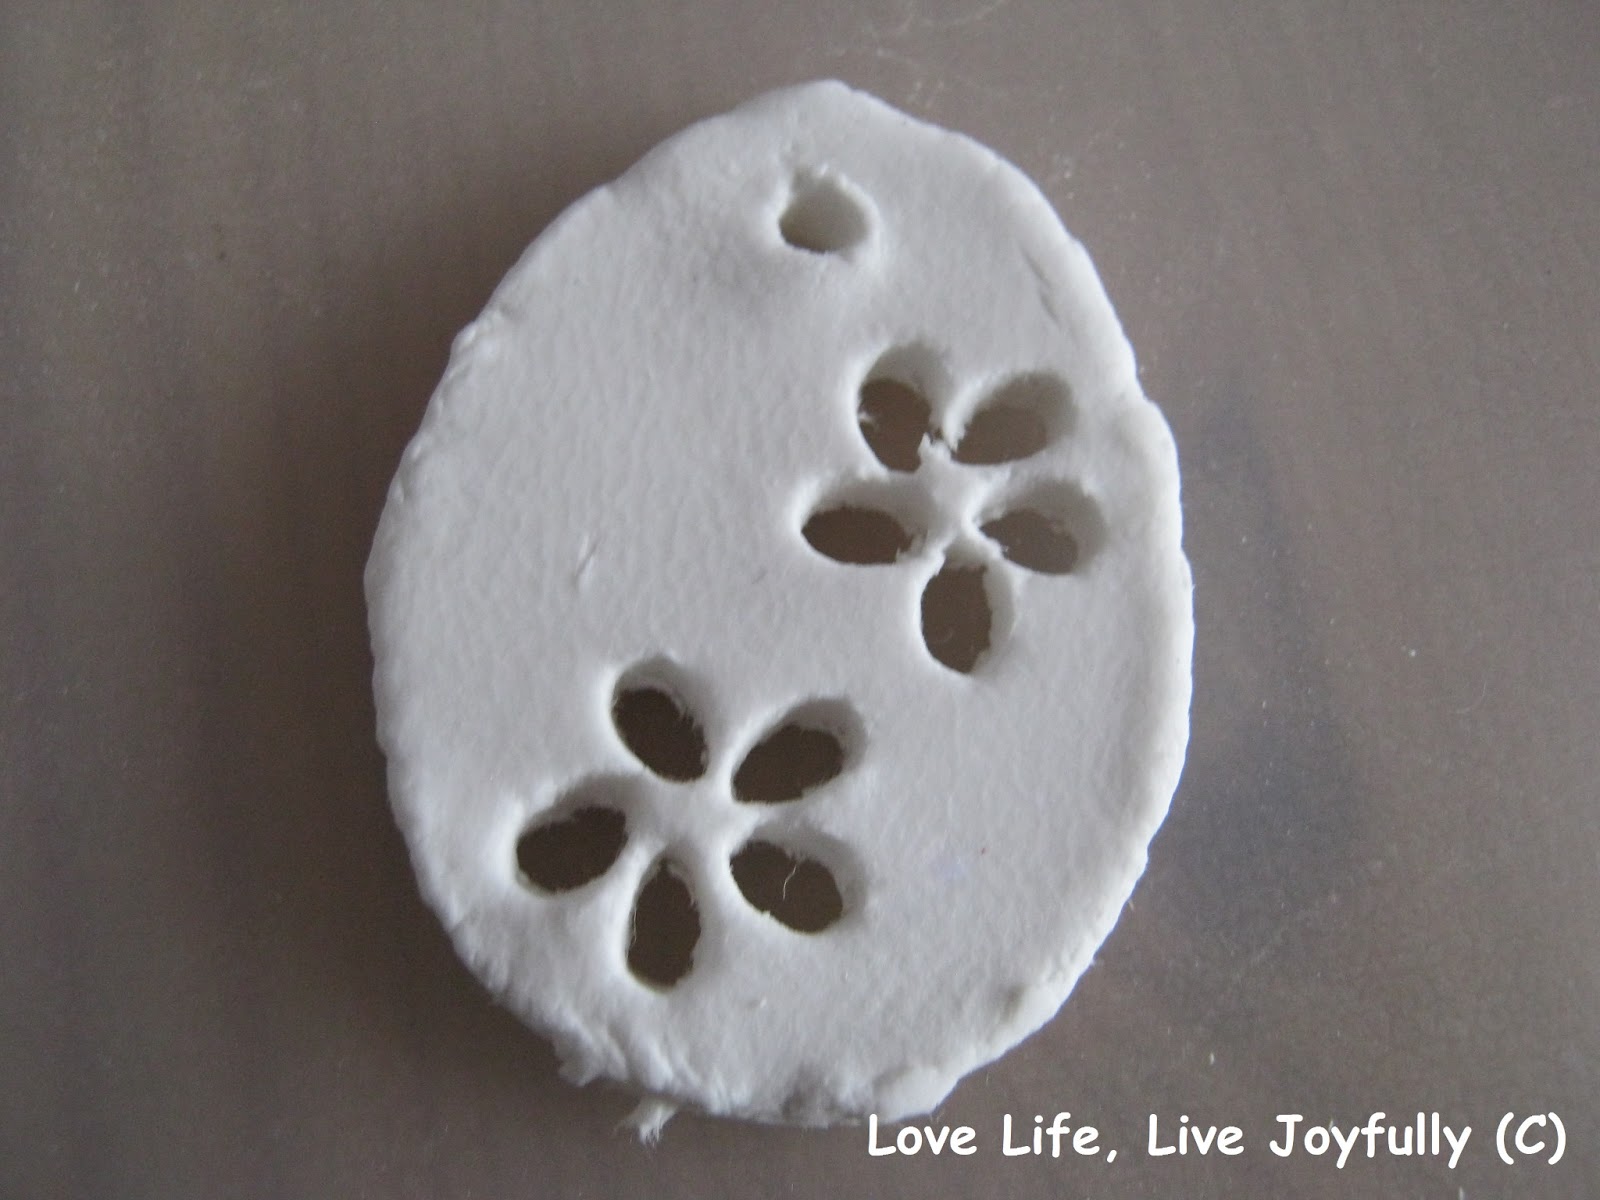
Then the Easter branches. I decided to hold back a little compared to last year ;). And see my handmade white eggs with the flowers? Proud of them! ;)
En natuurlijk ook dit jaar weer paastakken. Wel wat rustiger dan vorig jaar, maar zo komen m'n handgemaakte eitjes wel beter uit ;).
My crocheted Easter bunny is going well. She already has a belly, two ears one paw and part of a head :). Don't know whether she will be born before Easter (I need safety eyes in a different size than the one I have) but hey next year it's also Easter.
Ook mijn gehaakte haasje gaat goed. Ze heeft a een lijfje, twee oortjes een pootje en een deel van een hoofdje :). Ik weet niet of ik haar voor de paas af krijg (ik heb een maat oogje nodig dat ik niet heb) maar ach, volgend jaar is het weer pasen.
Then I really wanted to share this picture with you all, the breakfast my brother made yesterday. Doesn't it feel Easter-ish to you?
En dan deze foto, het ontbijt van mijn broertje. Paasachtig toch!
And the final picture of this post, the tulips my mum bought. Ultimate spring feeling (see the pink bunny?).
En tot slot de tulpen die mijn moeder gister kocht. Eindelijk lente (zie de paashaas)! 

Enjoy your week and I look forward to see more Easter ideas from you all!
Fijne week en ik zie graag meer leuke paasdingen op de blogs verschijnen!


With love,
Bambi

Ps. I'm joining the link party by Rosie again! Have a look overthere ;). (I love her post about the tulip wreath!)
Ps. Ik doe weer mee met de linkparty van Rosie! Neem vooral een kijkje bij haar tulpenkrans, die is super!

Monday, March 18, 2013

Shopping for craft supplies...results part 1

And here the result of what I made with the clay:
Hier het resultaat van wat ik met de klei gedaan heb:

I'm not completely satisfied with the result yet, since the shape of the eggs is not smooth enough. I think I'm going to try it again later on with less synthetic clay and a cookie cutter. But for now a little tutorial:
Ik ben nog niet helemaal tevreden aangezien de vorm van het ei niet echt mooi is. Ik wil het nog eens proberen met minder synthetische klei en een koekvormpje. Maar voor nu alvast een kleine tutorial: 
First make an egg shape out of the clay. Then cut out flower petals, I did this with a straw (you know, the ones you use for lemonade) which I crushed a little on one side.
Snijd of steek een eivorm uit de klei. Steek dan bloemblaadjes uit de klei, ik heb dit met een rietje gedaan dat ik aan één kant een beetje plat gedrukt had.
Get your egg out of the clay, make a hole (pretty largee if your ribbons are broad) for a ribbon and try to get the petals out. This might be difficult, I tried it from the back to the front and that did work better.
Haal de eivorm uit de klei, maak een gaatje (groot gat als je brede lintjes hebt) voor een lintje en probeer de blaadjes eruit te halen. Dit vond ik best lastig en heb ik vanaf de achterkant naar voren gedaan.
When you got them out you can smoothen the cutting corners with a toothpick.
Als ze eruit zijn kan je de randjes glad maken met een cocktailprikkertje.
I used bugdet clay and it shows since it was impossible to get nice smooth edges, so it's worth the effort to look for good clay!
The ones with a lace print were simply made by placing a doiley on the clay and using a rolling pin to make a print. 
Ik heb klei van de Action gebruikt en die is niet heel prettig, het was onmogelijk om gladde randjes te krijgen en dat is toch wel zonde.
De eitjes met een kant print zijn heel simpel gemaakt door een gehaakt kleedje op de klei te leggen en met een deegroller in de klei te drukken.
Hope you enjoyed the tutorial!
Ik hoop dat jullie de tutorial leuk vonden!
With love,
Bambi