Showing posts with label DIY. Show all posts

Monday, July 8, 2013

Bird house

And it is finished! My first birdhouse is done :). It was really fun to do, however it does show to be budget quality... 
En de eerste is af! Hij was leuk om te maken, maar toch echt Action kwaliteit....

  
So some tips:
  • Spray paint the MDF white to make sure it doesn't shine through the paper.
  • Lay out all pieces on the paper before you start cutting (oops).
  • Use modge podge instead of other glue.
 Dus een paar tips voor als je ze zelf ook wil maken:
  •  Spuit de MDF delen eerst wit, zodat het papier er niet doorheen schijnt.
  • Leg alle onderdelen op het papier voor je begint met knippen (oeps ;) ).
  • Gebruik modge podge i.p.v. lijm (ze hebben iets soortgelijks bij de Action). 

Still, I do like how it turned out :). Hope to make the second one sometime soon!
Toch vind ik hem wel leuk geworden, en tja het blijft Action ;). Ik hoop dat ik snel tijd heb voor de volgende!

With love,
Bambi

Saturday, June 1, 2013

Finished WIPs!

And FINALLY some finished WIPs (work in progress). Last year I started the owls for decorating the christmas tree. The ones that were finished actually ended up in the christmas tree. Luckily they also look cute the rest of the year ;). And they're very easy to make :). The pattern is from Matawi and is available in Dutch and English.
EINDELIJK zijn een aantal WIPs (work in progress) afgerond. Afgelopen jaar begon ik met het haken van uiltjes, met het idee om ze in de kerstboom te hangen. Gelukkig zijn ze de rest van het jaar ook leuk ;). En super makkelijk te maken :). Het patroontje komt van Matawi.


And then Fawn 2.0 from Elisabeth Doherty I started here and finally she's finished ;). Fawn was the first animal that I tried and funny enough almost the last one that was finished. In the mean time I learned a lot. So did I learn to crochet very thight when you make animals, so that they can stand up right (and you don't see the stuffing). Also the stripes are not neatly around the legs. That are things I want to try better later on :).

 
En dan Fawn 2.0 van Elisabeth Doherty (Engels patroon). Ik begon hier en het heeft even geduurd, maar ze is af ;). Fawn was het eerste beestje dat ik maakte en gek genoeg bijna de laatste die af was. Ondertussen heb ik veel geleerd. Zo is Fawn eigenlijk niet stevig genoeg gehaakt en kan ze dus niet staan (en je ziet de vullig een beetje). Ook lopen de strepen op de pootjes niet helemaal netjes. Dat zijn dingen die ik later nog een keertje ga proberen te verbeteren :).


Also my easter bunny is almost finished. Cute huh! I love how she turned out. For the ears I want to get some fabric to line the inner ears with. Therefore they are now attached with savety pins. I'll show her later when she's fully finished :). Pattern (free!) comes from here.

En ook mijn paashaasje is bijna af. Schattig he! Ik vind haar zo leuk geworden. Voor de oortjes wil ik nog een leuk stoffje om ze mee te voeren. Daarom zitten de oren nu nog vast met veiligheidsspelden. Als ze helemaal af is zal ik haar nog eens laten zien :). Patroon (gratis!) komt van hier (Engels).


With love,
Bambi
Friday, May 31, 2013

Bird houses

As I wrote before, I tried to get my hands on the MDF bird houses a Dutch budget shop is selling. After having been there 5(!) times this week, I gave up (learning point here for the store...). Fortunately the store is also located close to my mums work, so she went there for me and scored 2 bird houses! Yay! Thank you mum! However, they're still with my parents, so I decided to try out the paper ones I told about before. And they are as cute as I hoped they would turn out! Here the first two.

Zoals ik al eerder schreef, heb ik geprobeerd de MDF vogelhuisjes van de Action te bemachtigen. Na 5(!) keer voor niets geweest te zijn, heb ik het op gegeven. Wat betreft levering en het informeren van klanten een gigantische faal voor de Action... Gelukkig is er ook een filiaal in de buurt van waar mijn moeder werkt, en dus is zij voor me naar de Action geweest. Daar hadden ze ze gelukkig nog wel en dus heeft ze 2 huisjes voor me meegenomen! Jeej! Dank je wel mam! Dit betekent helaas wel dat ze nog bij mijn ouders zijn, dus besloot ik dat ik dan maar moest beginnen aan de papieren huisjes. En die zijn zóóó schattig als ze in elkaar zitten! Hier alvast de eerste twee. 


They are a bit smaller than I thought though (and these are the big ones...), however it is convenient when I take the little ones with me on my internship.
Ze zijn iets kleiner dan ik dacht (en dit zijn de grote...), maar dat komt wel goed uit als ik de kleintjes meeneem op stage.

Wouldn't  this look cute in a guarland in an internship dorm room? Anyway I'm very satisfied with them :).
Zouden ze niet heel erg schattig zijn in een slinger op een stageadres? Hoe dan ook, ik vind ze super schattig :).

With love,
Bambi

Monday, May 27, 2013

Action shoplog

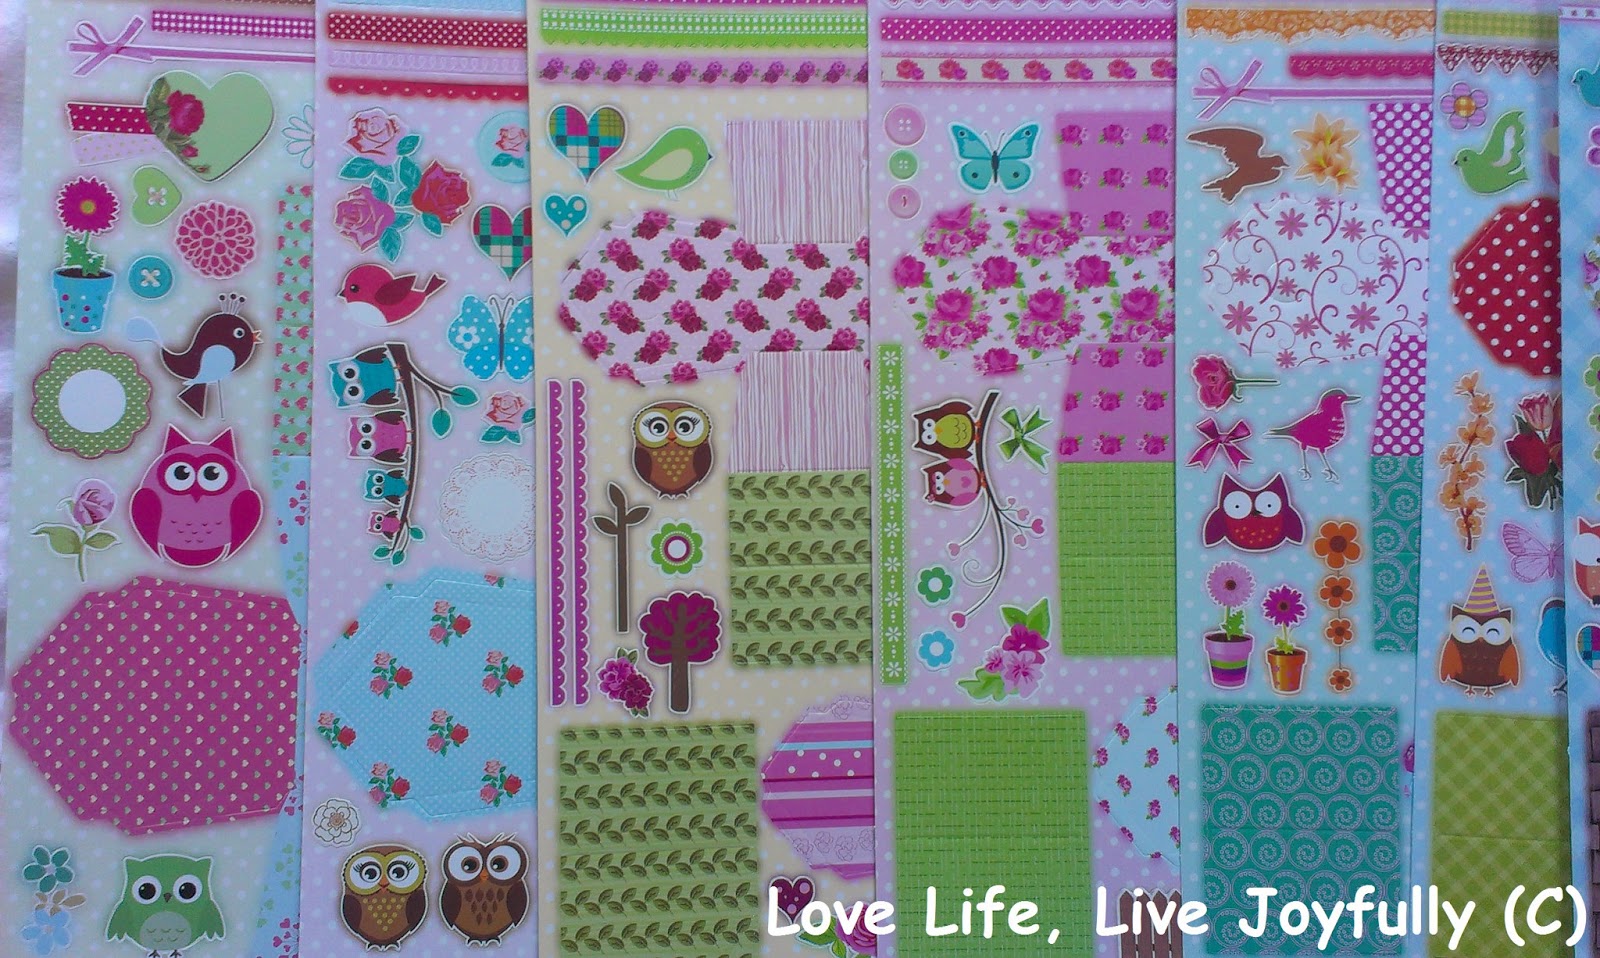
Look what I've found at the best budget shop of Holland! Build-your-own-bird-house sets :). I read about the big ones made from MDF at the site of Inge and as soon as I could I went to the store... Unfortunately they were sold out, but they will be in again later this week. So I will have another try later on. However, what I did find were packages for smaller bird houses (€0,99 per set) and I couldn't resist....

Kijk eens wat ik gevonden heb bij de Action! Vogelhuis-knutsel setjes :). Ik had de huisjes van MDF gezien op de blog van Inge en ik ben snel gaan kijken bij de action.... Helaas waren de MDF huisjes uitverkocht, maar ze worden van de week opnieuw geleverd. Dus dat ga ik later nog eens proberen. Wel vond ik schattige pakketjes voor kleine vogelhuisjes van karton (€0,99 per setje) en die waren zoooo leuk....

I bought 2 sets and each set makes 8 small houses and 2 slightly bigger ones. In total I have 12 sheets full of bird houses :).
Ik heb 2 setjes gekocht en in ieder setje zit genoeg voor 8 kleine huisjes en 2 iets grotere. In totaal heb ik 12 vellen vol vogelhuisjes :).

However, how tempting they are, I'm not gonna make them yet... I decided to take them with me on my internship to decorate my room over there :). That way it soon will feel like home.
Hoe leuk ze ook zijn, ik ga ze nog niet in elkaar zetten... Ik ga ze meenemen naar mijn stageadres om daar mijn kamer een beetje op te leuken. Dan voel ik me daar vast snel thuis :).


With love,
Bambi

Thursday, May 23, 2013

Shopping and an owl

Last weekend I found some time to shop.... And something I've wanted for years was now not only available but also on sale! Finally I found rainboots with roses, and well within my budget (since they were on sale, they were only 6 euro)!
Afgelopen weekend had ik eventjes tijd om te winkelen... En waar ik al jaren naar op zoek was was nu ook nog eens in de uitverkoop! Eindelijk heb ik regenlaarzen met roosjes, en ruim binnen budget (aangezien het opruiming was, waren ze maar 6 euro)!
And also some thrift store treasures. I love the books of Dan Brown and I wanted to have them myself. And also a book of James Redfield, which I also love.
En wat schatten van de kringloopwinkel. Ik vind de boeken van Dan Brown geweldig en wilde ze toch graag zelf hebben. En een boek van James Redfield, wat ik ook geweldig vind.

To conclude this owl. This is the owl I got for my 'collection'. It's cute but a bit old fashioned, so I decided to give it a make-over.
Tot slot dit uiltje. Dit is het uiltje dat ik kreeg voor mijn 'verzameling'. Hij is schattig maar een beetje oubollig, dus heeft ie een make-over gekregen. 


I like him in white and I think he will look good in my book shelf. However, this was only the first layer of paint, so it's not finished yet.
Ik vind hem leuk in het wit en ik denk dat ie prima in de boekenkast past. Maar dit is pas de 1e laag verf, dus hij is nog niet af.

With love,
Bambi

Monday, March 18, 2013

Shopping for craft supplies...results part 1

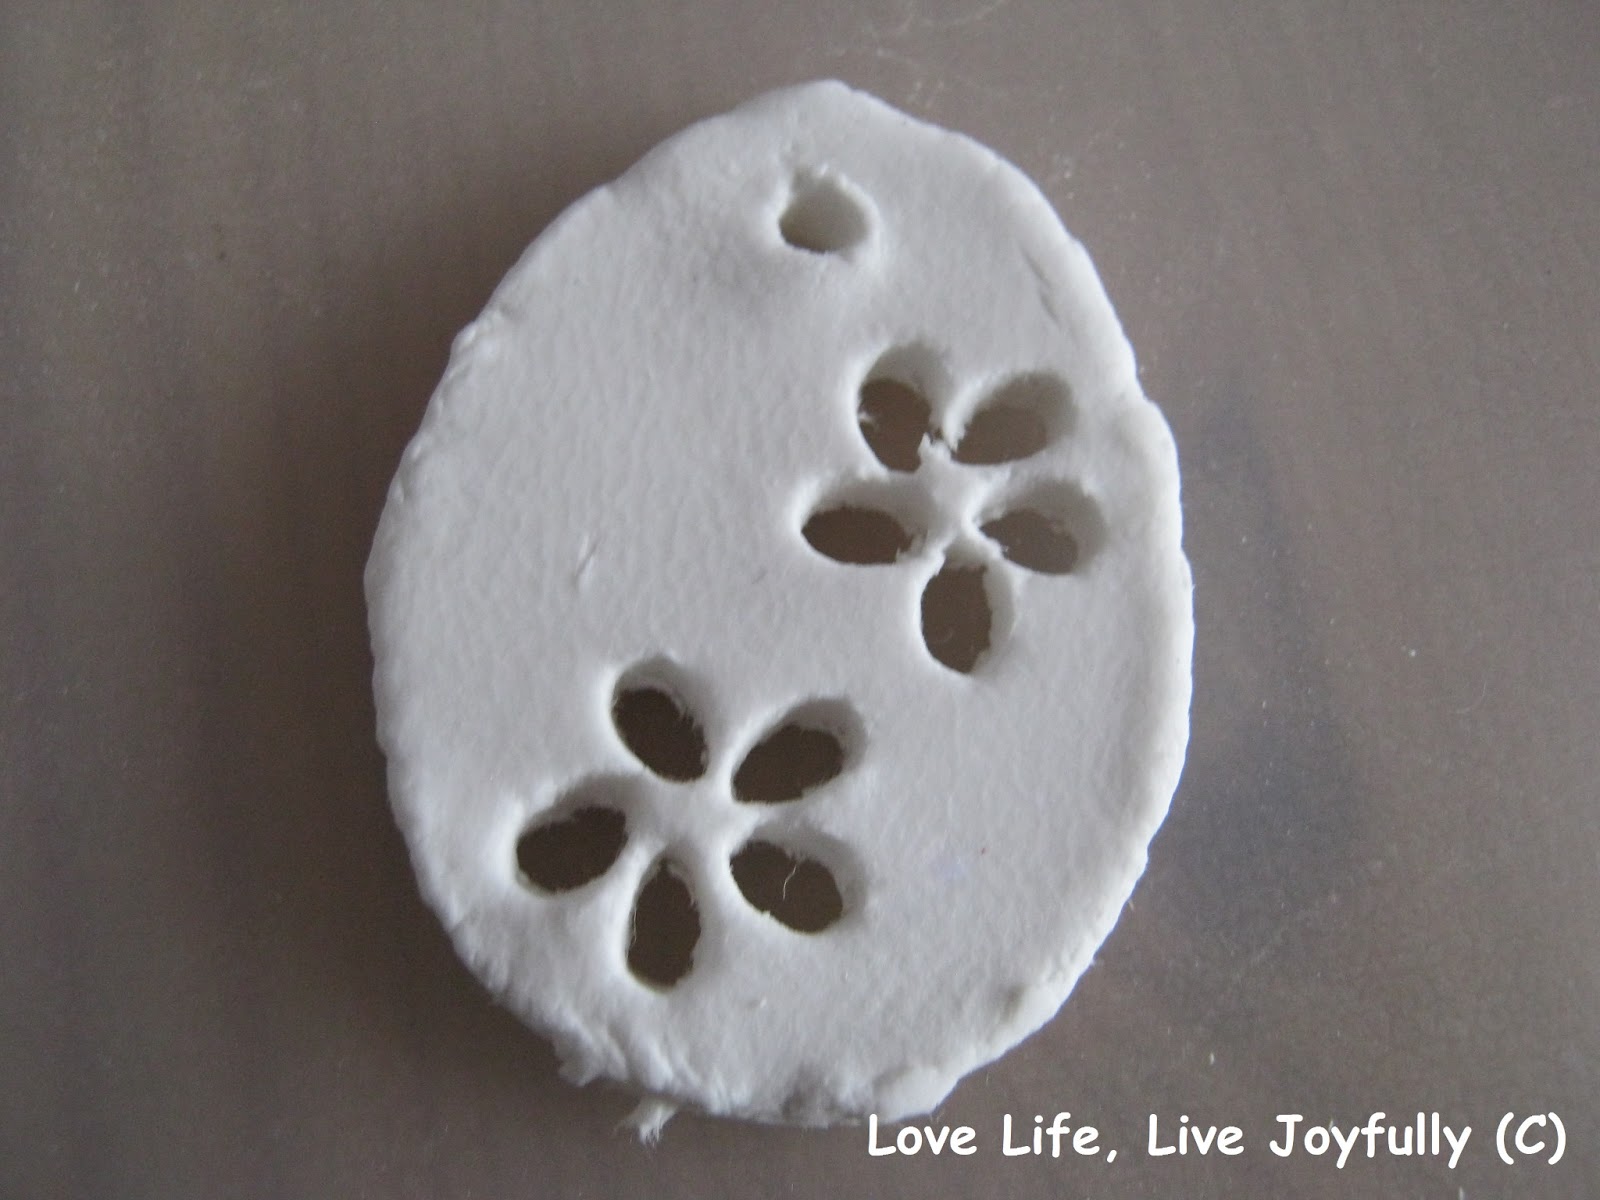
And here the result of what I made with the clay:
Hier het resultaat van wat ik met de klei gedaan heb:

I'm not completely satisfied with the result yet, since the shape of the eggs is not smooth enough. I think I'm going to try it again later on with less synthetic clay and a cookie cutter. But for now a little tutorial:
Ik ben nog niet helemaal tevreden aangezien de vorm van het ei niet echt mooi is. Ik wil het nog eens proberen met minder synthetische klei en een koekvormpje. Maar voor nu alvast een kleine tutorial: 
First make an egg shape out of the clay. Then cut out flower petals, I did this with a straw (you know, the ones you use for lemonade) which I crushed a little on one side.
Snijd of steek een eivorm uit de klei. Steek dan bloemblaadjes uit de klei, ik heb dit met een rietje gedaan dat ik aan één kant een beetje plat gedrukt had.
Get your egg out of the clay, make a hole (pretty largee if your ribbons are broad) for a ribbon and try to get the petals out. This might be difficult, I tried it from the back to the front and that did work better.
Haal de eivorm uit de klei, maak een gaatje (groot gat als je brede lintjes hebt) voor een lintje en probeer de blaadjes eruit te halen. Dit vond ik best lastig en heb ik vanaf de achterkant naar voren gedaan.
When you got them out you can smoothen the cutting corners with a toothpick.
Als ze eruit zijn kan je de randjes glad maken met een cocktailprikkertje.
I used bugdet clay and it shows since it was impossible to get nice smooth edges, so it's worth the effort to look for good clay!
The ones with a lace print were simply made by placing a doiley on the clay and using a rolling pin to make a print. 
Ik heb klei van de Action gebruikt en die is niet heel prettig, het was onmogelijk om gladde randjes te krijgen en dat is toch wel zonde.
De eitjes met een kant print zijn heel simpel gemaakt door een gehaakt kleedje op de klei te leggen en met een deegroller in de klei te drukken.
Hope you enjoyed the tutorial!
Ik hoop dat jullie de tutorial leuk vonden!
With love,
Bambi