
Hier het resultaat van wat ik met de klei gedaan heb:

I'm not completely satisfied with the result yet, since the shape of the eggs is not smooth enough. I think I'm going to try it again later on with less synthetic clay and a cookie cutter. But for now a little tutorial:
Ik ben nog niet helemaal tevreden aangezien de vorm van het ei niet echt mooi is. Ik wil het nog eens proberen met minder synthetische klei en een koekvormpje. Maar voor nu alvast een kleine tutorial:

First make an egg shape out of the clay. Then cut out flower petals, I did this with a straw (you know, the ones you use for lemonade) which I crushed a little on one side.
Snijd of steek een eivorm uit de klei. Steek dan bloemblaadjes uit de klei, ik heb dit met een rietje gedaan dat ik aan één kant een beetje plat gedrukt had.

Get your egg out of the clay, make a hole (pretty largee if your ribbons are broad) for a ribbon and try to get the petals out. This might be difficult, I tried it from the back to the front and that did work better.
Haal de eivorm uit de klei, maak een gaatje (groot gat als je brede lintjes hebt) voor een lintje en probeer de blaadjes eruit te halen. Dit vond ik best lastig en heb ik vanaf de achterkant naar voren gedaan.
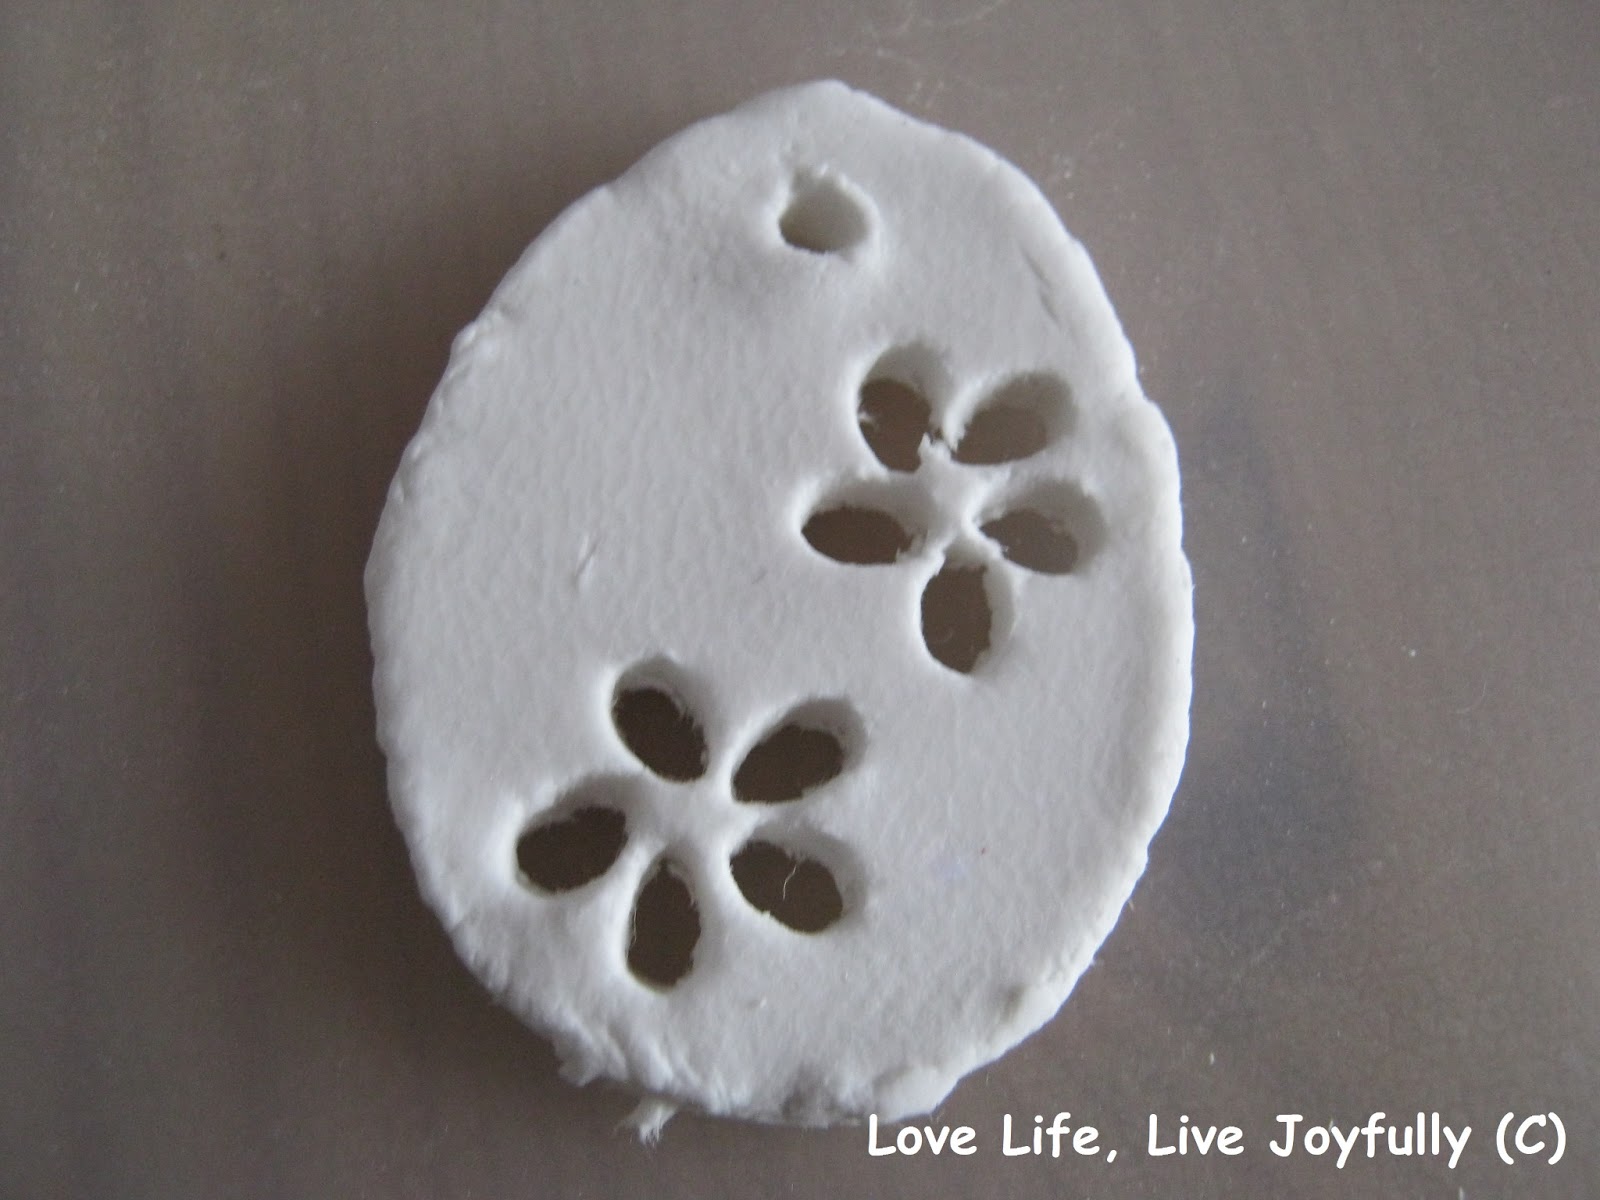
When you got them out you can smoothen the cutting corners with a toothpick.
Als ze eruit zijn kan je de randjes glad maken met een cocktailprikkertje.
I used bugdet clay and it shows since it was impossible to get nice smooth edges, so it's worth the effort to look for good clay!
The ones with a lace print were simply made by placing a doiley on the clay and using a rolling pin to make a print.
Ik heb klei van de Action gebruikt en die is niet heel prettig, het was onmogelijk om gladde randjes te krijgen en dat is toch wel zonde.
De eitjes met een kant print zijn heel simpel gemaakt door een gehaakt kleedje op de klei te leggen en met een deegroller in de klei te drukken.

Ik hoop dat jullie de tutorial leuk vonden!
With love,
Bambi
Leuk!! Zo 'easy' maar ziet er altijd weer gezellig uit.
ReplyDelete(kwam hier via Life By Rosie... en ga nu eerst even verder lezen op je blog :D )
fijne avond!